
The Slippery Slope
So I say “sayonara” to the Arduino, pull up EAGLE (a program that deserves a longish rant all on its own), and start tinkering. I’m still thinking simple here; just some USB-connected buttons and lights. Nothing fancy.
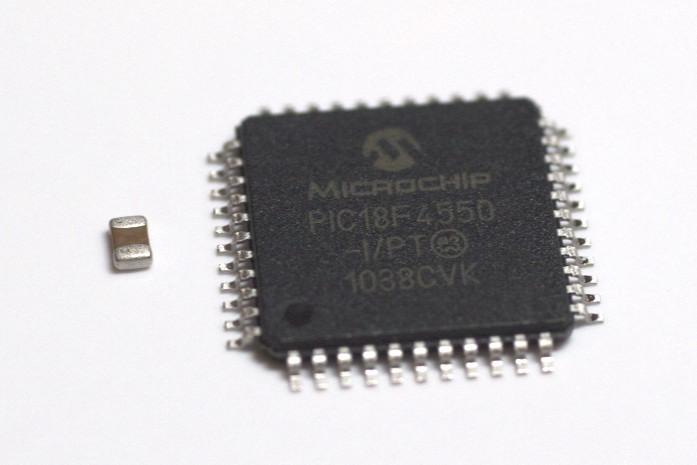 For a processor, being a PIC guy, I settle on the PIC18F4550. It’s a larger device that can run at up to 48MHz, and has 32K flash, 2K SRAM, and 256 bytes of EEPROM. Add to that a raft of useful peripherals including PWM and, of course, the necessary internal USB SIE and transceiver. Available in 40-DIP or 44-TQFP.
Hint: Buy them direct from Microchip if you need more than one. They sell ’em for $4.47, where Digi-Key’s price is $6.80. SparkFun’s price is a whopping $11.39. Ouch!
With the processor chosen, I next learn that the road to hell is paved with lighted pushbuttons.
The stupid things are expensive! I’m not talking three or four bucks here – more like ten for the good ones. I spent hours looking all over the place, but apart from finding some at Adafruit that weren’t quite right for the project, I found absolutely nothing that was reasonably priced. I must be missing something…
 In the end I settled on some E-Switch LP4’s. They’re a bit small, but they’re (mostly) under five bucks, and they’ll work. Even better, they have a removable clear cap that I can put an insert under, and the caps are designed so they don’t twist – get your insert aligned properly, and it’ll stay that way.
No tactile feedback and still more than a bit too pricey, but you can’t have it all I suppose.
Of course, by the time I get all this together, I’ve noticed just how many extra pins I’ll have on my fancy new MCU…
… and that’s how it always starts …
Down The Rabbit Hole
So there I am, staring at all those lovely I/O pins just begging me to find a use for them. Having had the Arduino prototype sitting on my desk for a while, I’ve already figured out that having some basic controls wouldn’t be a bad thing. So the design grows three more buttons: next track, previous track, and play/pause.
Well, that’s reasonable, but I’ve still got tons of extra pins. Why not turn it into a hardware iTunes control and status panel? Not that hard, right? Of course, there’s a pretty standard way of doing that…
…add an LCD display, of course.
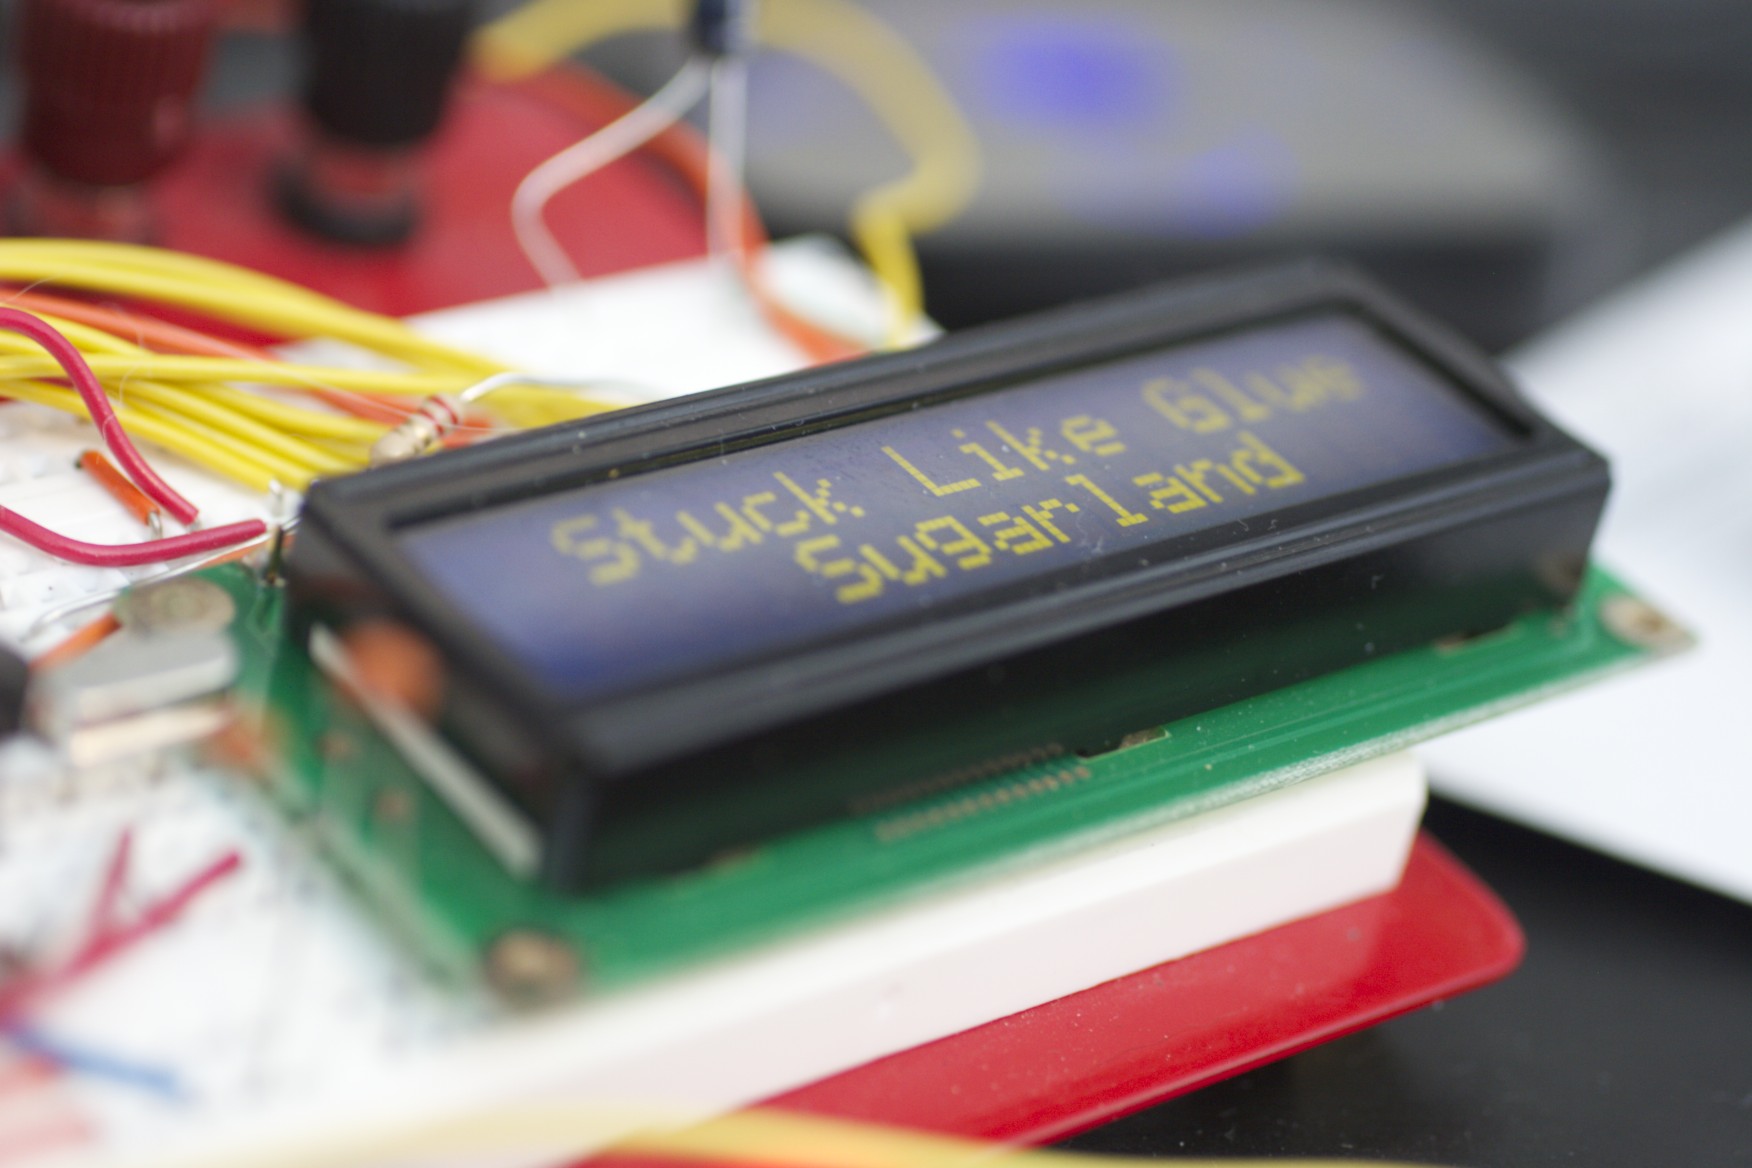 I happen to have some in the parts bin from a project I lost interest in a long time ago, so that wasn’t a tough choice. They’re fairly nice 16×2 units I bought from CrystalFontz. Ten years old they may be, but they work just fine, and have a traditional Hitachi-compatible controller. It’s amazing how little things have changed over the years; these things are still just as popular, if not more so.
Of course, while I’m tinkering with adding that to the schematic, I realize that I’ll have to hardwire the contrast or add a user-accessible potentiometer to set it with. This leads to thoughts of software controllable display parameters, and next thing I know, one of the PIC’s PWM modules is consumed with powering the backlight. Haven’t decided yet how to deal with contrast, but I’ll figure something out.
So in the end I have nine buttons, six of which have LEDs in them, and an LCD display. The MCU is clocked by an 8MHz crystal, which drives an internal 3x PLL for a system clock of 24MHz.
But will it blend?
Pingback: Overbuilding an iTunes rating system - Hack a Day
Pingback: Overbuilding an iTunes rating system « Hackaday « Cool Internet Projects
Pingback: Overbuilding an iTunes rating system | ro-Stire
Pingback: Overbuilding an iTunes rating system | ro-Stire
Pingback: Overbuilding an iTunes rating system | CisforComputers
Pingback: Overbuilding an iTunes rating system » Geko Geek